Pages

Friday, November 16, 2012

This blog is moving!!


I have moved this blog to my new business blog, Snips and Snails Decor. I am so excited to start my home decor and party decorations business. Please come check it out!


If you have any questions or decoration requests, please email me at
 
Thanks!

Thursday, November 15, 2012

Very Hungry Catepillar Party for "W"


I was so excited when a mom friend asked me to do the decorations for her son's first birthday! The theme is Very Hungry Caterpillar, which is super cute for a first birthday. I had so much fun with these decorations!
 
First up are signs for all the fruits on the buffet table. I made a separate sign for each fruit, but only the apple is pictured here.

 
Cute cupcake toppers!

 
I made the Happy Birthday banner a little differently this time. Usually, I make each circle as a tag and run ribbon through to connect them. This time, I attached each circle together to make a caterpillar shape. It was hard to get a picture of it all together at the same time, so I had to take two. And, I'm not very blog layout savvy, so this is the best I could do to get the pictures together. (I make stuff with by hand, not on the computer, for a reason! hehe) The mom said she would send me party photos, so I will have a better one then.


 Since this is all for a first birthday, I had to make the new craze in "banner world", a high chair banner. Can't wait to see it on the high chair during the cake eating action!

 
I also did a "mini" cupcake stand. The 3 layer stands hold way more than 24 cupcakes, and she is having a smaller party, so 2 layers is plenty. I also covered the tops of the boards with scrapbook paper this time. I like the look much better.

 
I made treat bag toppers for the first time. These were easy and fun! The mom will place treats in a clear bag and then staple the card over the top of the bag.
(edited for privacy)

 
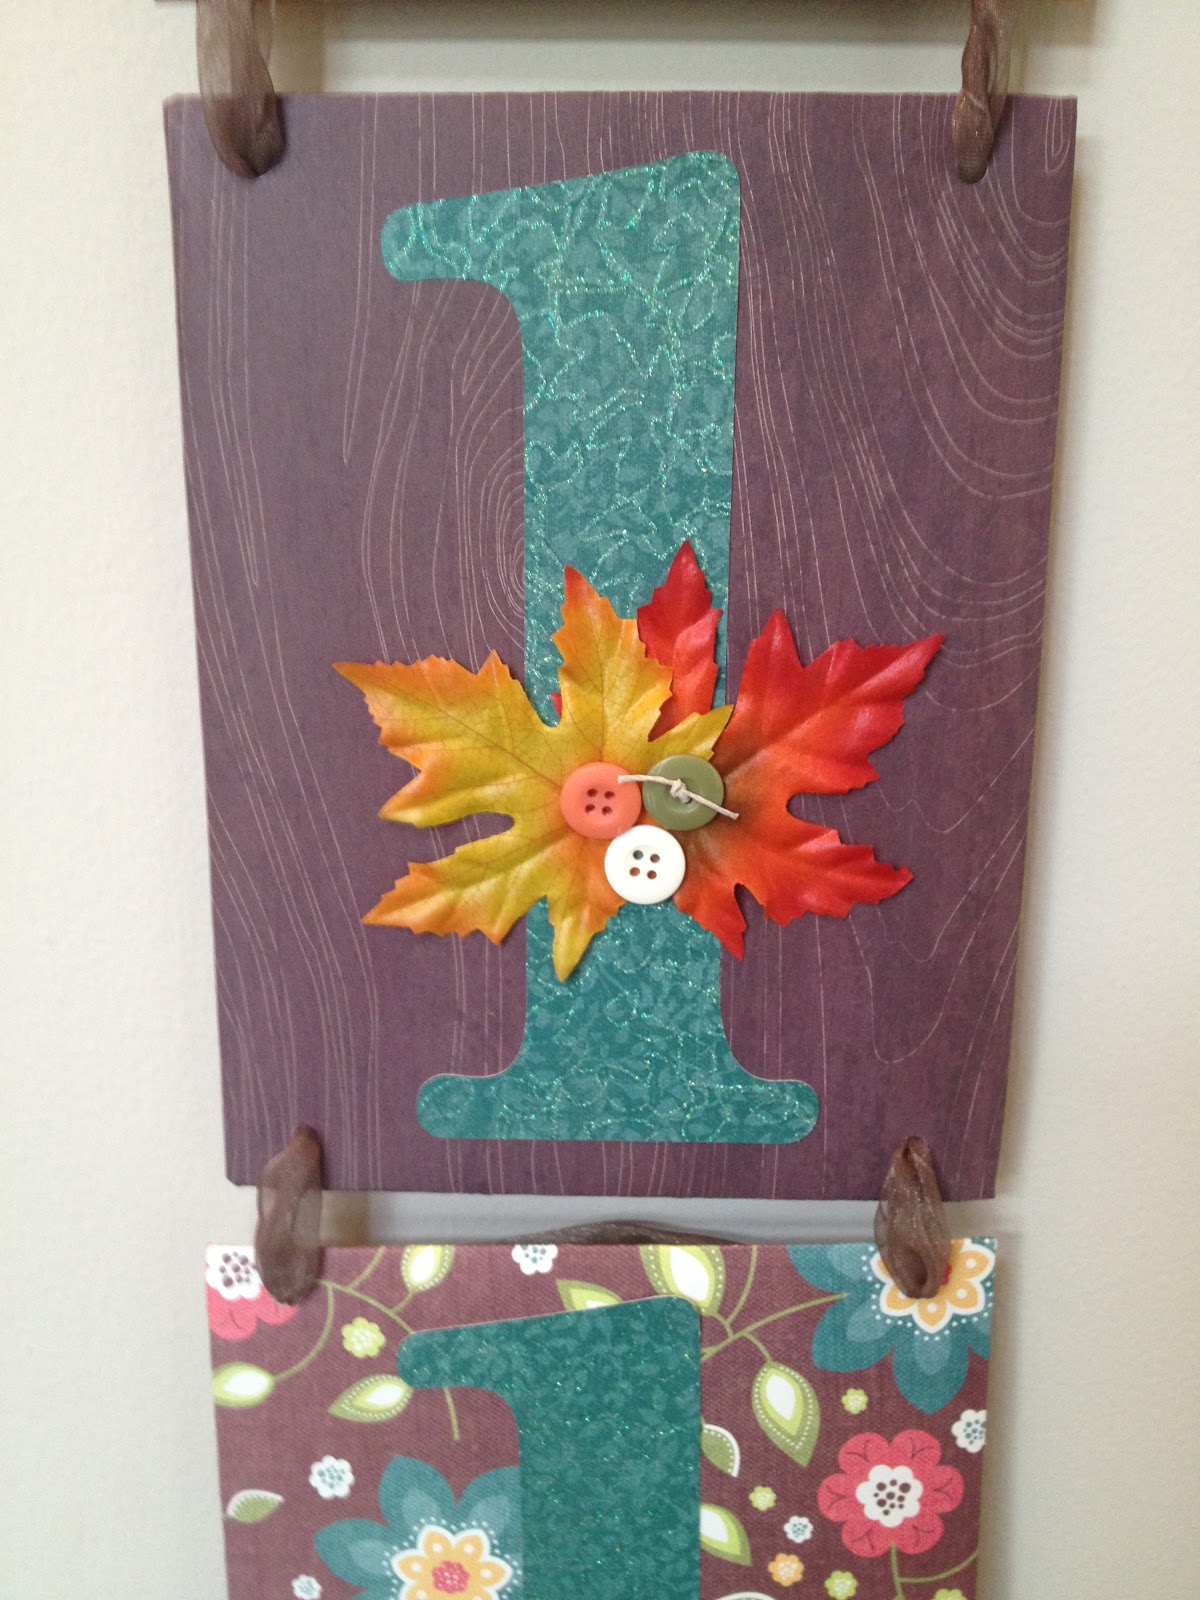
I also made a photo banner for a photo of each month of W's first year. I'm really looking forward to seeing that! I can't wait to see all the party photos from this coming weekend. Be sure to check back to see the decorations in action and the cute little birthday boy!
 

Friday, November 9, 2012

Fall Decor

Again, Pinterest! I swear I don't have an original idea. Oh well, I don't have time to reinvent the wheel! :)
 
I wanted more fall decor for our new house. So, I found this  on Pinterest and decided to make my own.


The neighbors gave my boys a haunted cookie house kit to do for Halloween. The boys loved making it! It was great timing too, because we were quaranteed to the house with J's first outbreak of cold sores and we were all getting a little stir crazy. I decided to repurpose the box and use it as the background for my fall sign.


I picked out four fall papers from my stash for the backgrounds and one for the letters.

 
I covered each cardboard piece with a piece of scrapbook paper and then used my Cricut to cut out the letters. I added some embellishments for some additional pizazz.
 
 
Happy Fall!


 If you would like your own fall sign or something similar, feel free to email me! My email is located on my About Me tab.
 

Old sweaters...recycled!

 
Last week I went to a clothing swap with my MOPS friends. It was a blast! There was an obscene amount of clothing for children and adults, plus toys, etc. Everything that wasn't taken home by someone was donated to a local shelter. Anyway, while we were there, I said to my friend Amy, "Can't we make something from these old sweaters? There must be something on Pinterest." Amy, being just as obsessed with Pinterest as I am, said "Yes! We can make boot leggings from the arms!" So we did. :)


I chose this striped shirt that is somewhat loud as a shirt, but I thought I could pull off as leggings. All I did was cut off the arms! No sewing or anything. I did cut them too long, so I had to fold them over in my boots. I'll be cutting a little more off the next time I wear them.


Here are my boot leggings in action with my new skinny jeans and boots. I love the leggings because they keep my legs warm (so difficult in the winter) and they make my boots fit better. They are just a tad loose at the top.
 

Thanks Amy, for such a great idea! Can't wait to make more!

Friday, November 2, 2012

Pumpkin kiss cookies


I LOVE PUMPKIN. Everything pumpkin. So, when I discovered these pumpkin spice kisses, I HAD to get some. I'm now on my third bag of the season. :) I saw this on Pinterest and decided I had to try them for a "mommy party" (what I call it when I go out alone, without children, to talk to other moms) last night.
 
I used already made sugar cookie dough because it was easier and there was a special a couple weeks ago that if you bought 4 cookie doughs, you got a free gallon of milk. Duh.
 
 
I just took a clump of dough and put it in each of the mini muffin tins. I baked them for 12 minutes at 375 degrees.


Then I had my helpers unwrap and put a kiss in each cookie. I decided I should squish the dough down farther into the tin because they kinda overflowed and some separated when I tried to get them out. They didn't really keep a good shape. They are delicious though! And this could be done with any Hershey kiss. I'm thinking the peppermint ones for Christmas...mmm!

Thursday, October 25, 2012

Clifford party for "C"

 
My friend's little boy, "C" turns 2 this month! His favorite character is Clifford the Big Red Dog. She couldn't find anyone to make a Clifford cake, so she decided to order cupcakes with red icing and I made Clifford toppers for them. I also made a simple Happy Birthday banner and a cupcake stand. I hope he has a great 2nd birthday!!


Monday, October 22, 2012

Hulk Party!

Saturday was the smashing Hulk birthday party! My oldest was soooo excited for his birthday. I started putting up decorations on Friday and he could hardly wait for all his friends to come and see all the Hulk stuff.
 
This is our entry way with the Happy Birthday banner that I made.
 
 
Here is an up close of the Hulk and "H". I cut ALL of the Hulk and Abomination characters by hand! I also used some glitter on the the letters to make them sparkle and 3D adhesive to make them stand out. 


My husband made the cupcakes. They were delicious! J chose chocolate for Hulk and vanilla for Abomination. J got a chocolate cupcake with both colors of icing. :)
 
I made the cupcake stands!
 
 
Here is an up-close picture of the cupcake toppers. You can also read my post here


 Due to my LOVE of Pinterest, I found this game idea. Hulk Smash! Unfortunately, I forgot to get a picture of it before the kids smashed it! I used the tutorial here I changed it a bit by using all green tissue paper and I made 24 circles instead of 18. The kids LOVED it! I had them all take turns smashing a circle and they each got a prize inside. We had them smash on the wrestling mat just in case anyone had a good punch. :)

 
I also made 20 Hulk masks. J loved it, but the other kids weren't so keen on wearing them. :) I found it here from the Disney website.
 
 
Of course we had goodies for the kids to take home! I used a basket I already had and covered it with green and purple scraps from my other decorations.
 
 
The happy birthday boy playing with his new toys!